Share Brands Across Organization
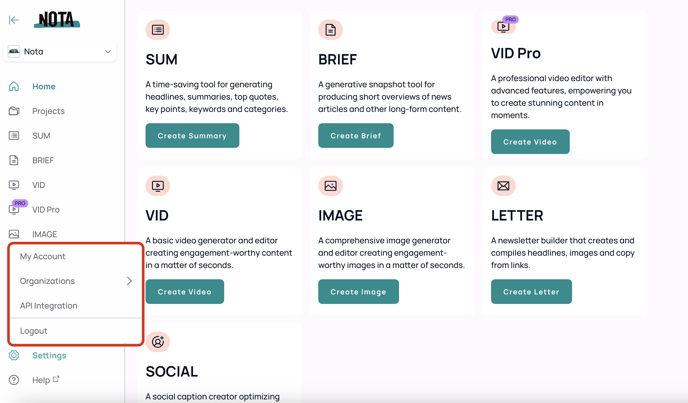
Organization admins now have the capability to share brand settings across the organization. You will now notice that Brands have moved, and live within the Organization option in your settings menu.

Organization Admins
Once you click the Organization you are assigned to, you will see 3 tabs across the top of the screen for Members, Invited Members, and Brands.
Within the Members tab, you have the ability to search for a member by name or email address, see the list of current organization members, see their status, assign their Role (Admin/User) and Deactivate users (under Actions).
Within the Invited Members tab, you have the ability to search for a member by name or email address, see the Status of their invitation, see the date of the invitation, and Resend or Cancel an invitation.
Within the Brands tab, you now have the ability to search for a Brand, see who created a Brand, determine if the brand is Public or Private, Create a Brand, and Edit/Delete a Brand.
To make a new Brand public for the rest of the organization, simply click the + Create Button, go through the process of adding all of the brand elements/settings, and slide the Public toggle from left to right to change the brand from Private to Public.
To make an existing Brand public for the rest of the organization, simply click one of your previously created brands from the list of Brands on the Brand tab, and slide the Public toggle from left to right to change the brand from Private to Public.
When complete, click SAVE in the top right corner. Now everyone at the organization will be able to access this brand from their Brand dropdown.
Best Practice: Coordinate with members across your organization to determine which of the previously created Private Brand(s) need to be elevated to Public status for use across the organization.
Non-Admins
Once you click the Organization you are assigned to, you will see the Brands tab at the top of the screen.
Within the Brands tab, you now have the ability to search for a Brand, see who created a Public Brand, and View a Brand.
To make a new Brand public for the rest of the organization, simply click the + Create Button, go through the process of adding all of the brand elements/settings, and slide the Public toggle from left to right to change the brand from Private to Public.
When complete, click SAVE in the top right corner. Now everyone at the organization will be able to access this brand from their Brand dropdown.
To make an existing Brand public for the rest of the organization, simply click one of your previously created brands from the list of Brands on the Brand tab, and slide the Public toggle from left to right to change the brand from Private to Public.
When complete, click SAVE in the top right corner. Now everyone at the organization will be able to access this brand from their Brand dropdown.